Why DIY Testing Beats Factory QC Reports
Factory-provided quality certificates are a starting point — not a substitute for hands-on testing. A 2025 survey of 200+ vacuum bag importers found that 34% of shipments had quality issues not flagged in pre-shipment inspection reports. The good news? You don’t need a laboratory to catch 90% of quality problems. A systematic 7-day DIY protocol using household tools can validate leak resistance, material integrity, and real-world durability before you commit to a container order. This protocol complements our comprehensive QC inspection checklist.
The 7-Day DIY Testing Protocol
Day 1: Visual & Tactile Inspection
Start with the basics. Examine each sample bag under bright light. Look for: uneven seams, thin spots in the film (hold up to a window — light should be uniform), rough or misaligned zipper tracks, and valve attachment integrity. Run your thumb firmly along all heat-sealed edges — any separation, however small, is a fail. Measure the bag dimensions with a ruler against the spec sheet; variations exceeding ±3mm indicate poor manufacturing control. Reference the PA+PE multilayer technology guide to understand what proper seams look like.
Day 2: The Leak Test (Water Submersion)
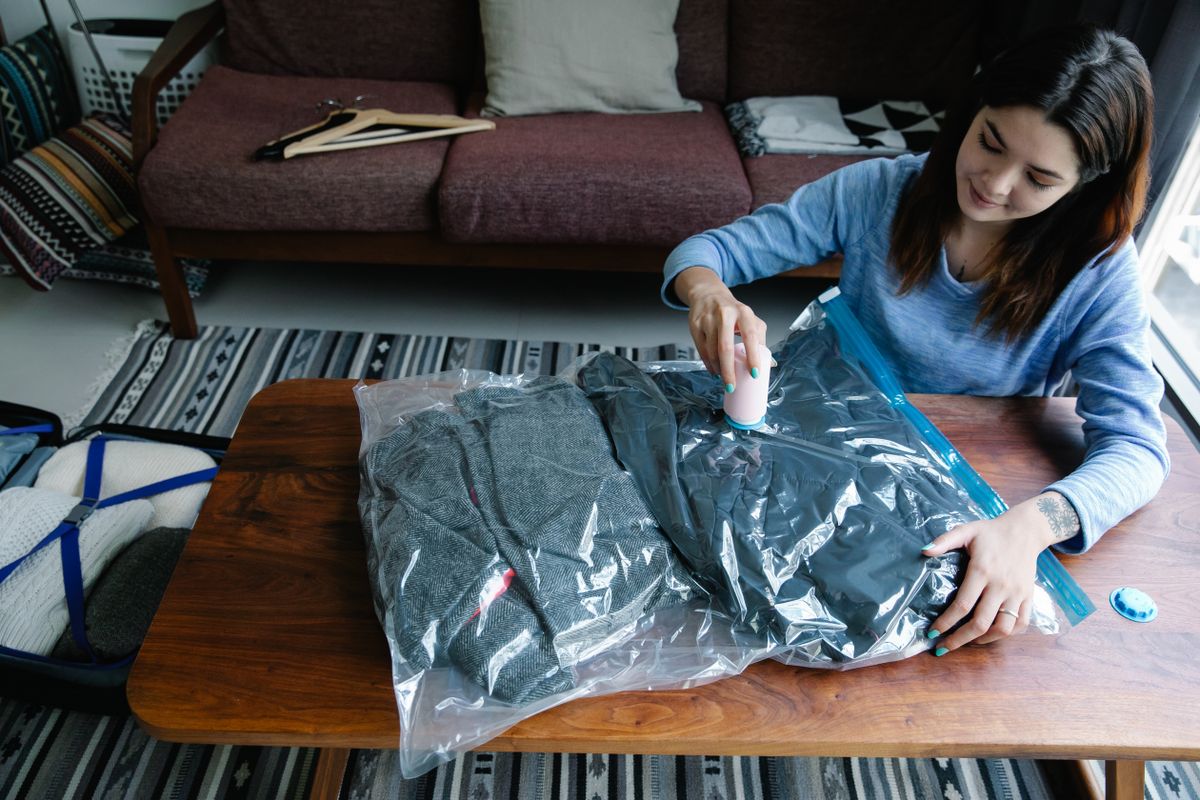
Fill the bag 70% with clothes or towels. Seal the zipper completely, then attach your vacuum pump and extract air until the bag is tightly compressed. Submerge the compressed bag in a bathtub or large basin of water. Watch for bubbles — a steady stream from the valve area, zipper, or any seam indicates a leak. A quality bag should produce zero bubbles for at least 30 seconds of submersion. Test 5 samples per size; reject the batch if more than 1 shows signs of leakage.
Day 3: Weight & Compression Test
Weigh the bag empty on a digital scale (gram precision). Fill with clothing to the recommended capacity, seal, and vacuum-compress. Record: pre-compression volume, post-compression volume, and the weight of contents. A quality PA+PE bag should achieve 75–80% volume reduction. Calculate the compression ratio — anything below 70% signals inadequate vacuum seal or material that doesn’t hold tension. For comparison data, see compression bags vs. vacuum bags.
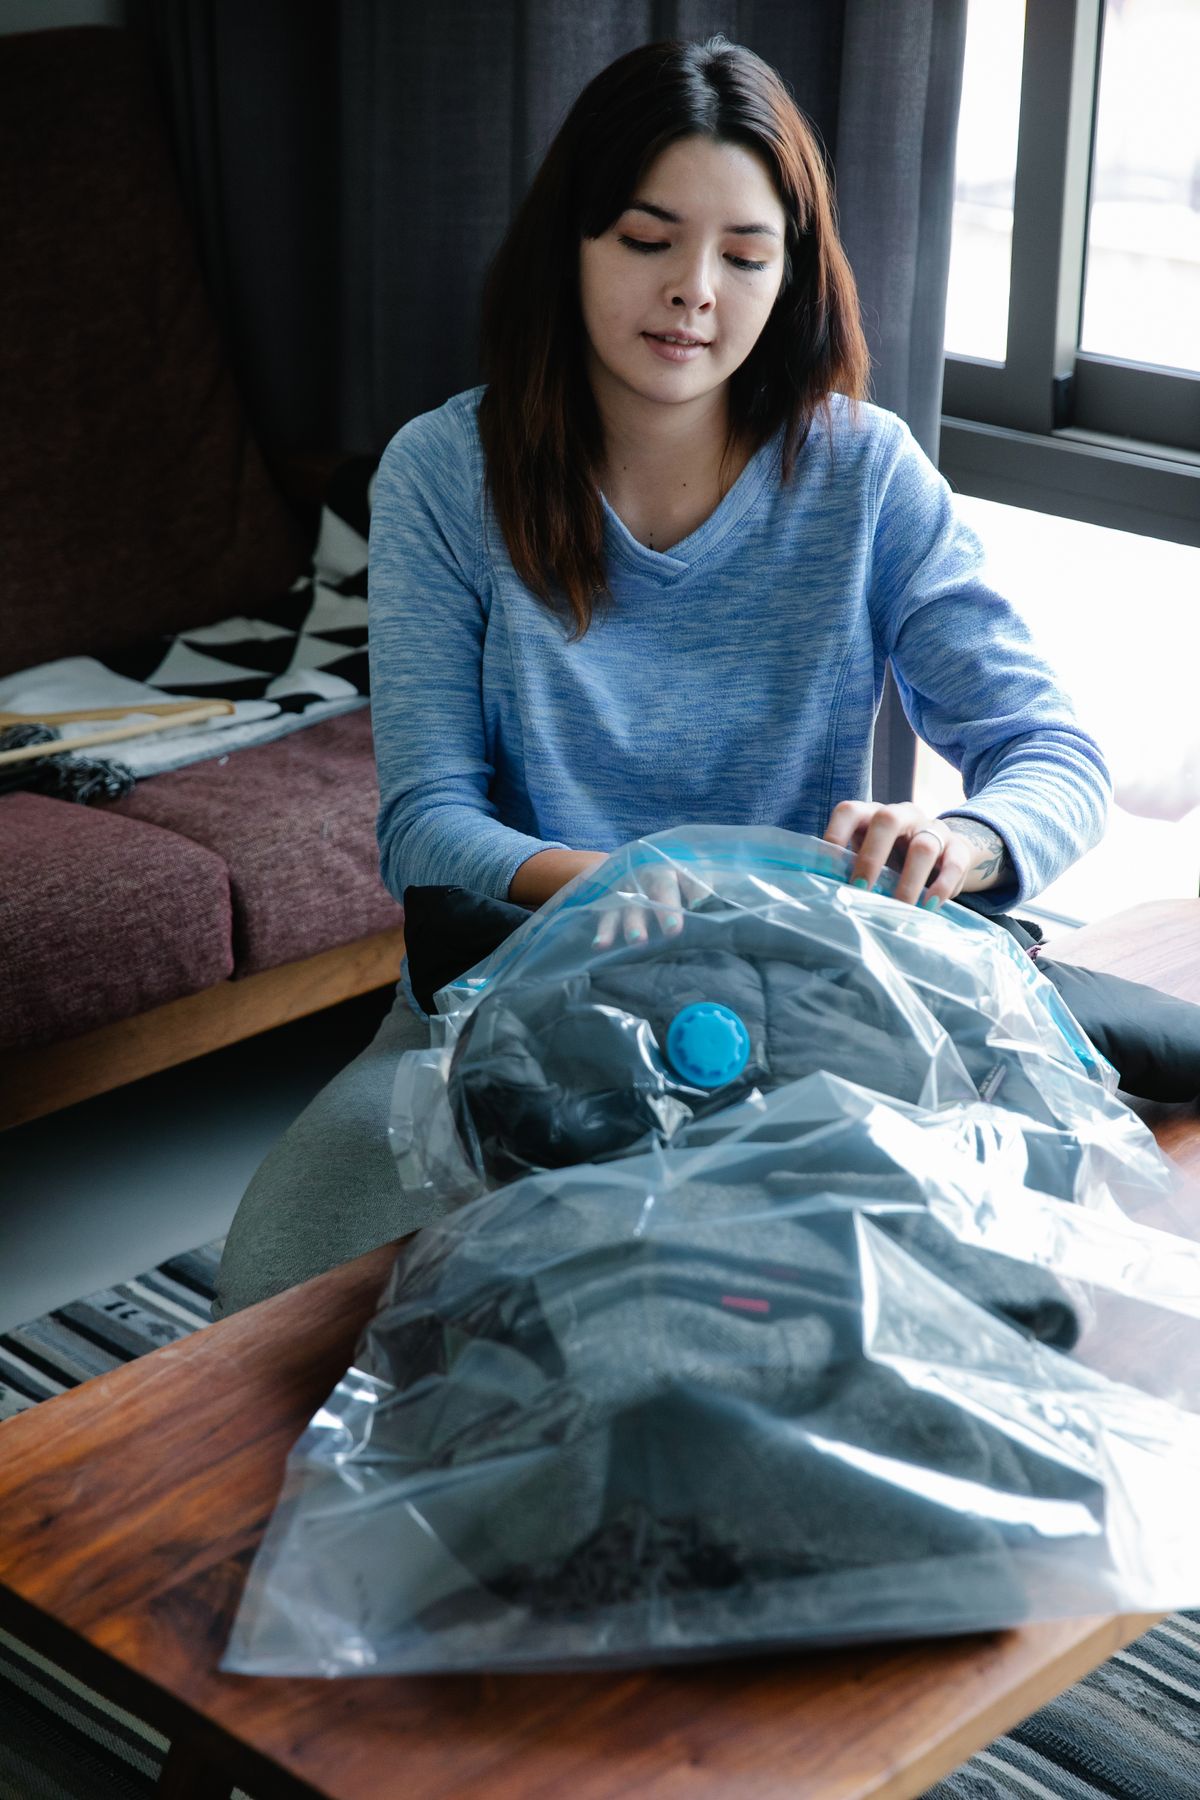
Day 4: Vacuum Seal Duration Test
This is the most revealing test. Vacuum-seal a bag with a standard load of clothing. Mark the bag’s thickness with a marker at the compression point. Store it at room temperature and check every 24 hours for 7 days. A quality vacuum bag should hold its seal for 7+ days with less than 10% air re-entry. If the bag visibly re-inflates within 24–48 hours, the one-way valve is failing — a critical defect. This directly impacts customer satisfaction; bags that re-inflate generate the most product returns. Learn about valve quality in our accessories & valves guide.
Day 5: Odor Test
Open a fresh bag from the package and smell it immediately. Strong chemical/plastic odors indicate residual solvents or low-grade PE resin. This is especially important for bags marketed for clothing storage — customers will complain about clothes that “smell like plastic.” A quality bag from a certified factory using food-grade or virgin PE resin (like our eco-friendly line) should have little to no odor. Also test after 24 hours sealed: fill with clean white t-shirts, seal, and leave overnight. If the shirts absorb any odor, reject the batch.
Day 6: Material Thickness & Puncture Resistance
If you have a micrometer, measure film thickness at 5 random points. PA+PE 7-layer film should measure 80–110 microns (0.08–0.11mm). Without a micrometer, use the “mattress test”: fill a jumbo bag with a king-sized comforter, vacuum-seal, then press firmly with your knee. The bag should not tear or puncture. For puncture testing, use a dull pencil eraser and press firmly at a 45-degree angle against the filled bag — quality film resists puncture; cheaper PET+PE blends tear easily. The material comparison is detailed in our materials guide.
Day 7: Real-World Usage Simulation & Final Scoring
Simulate actual customer usage: open and close the zipper 10 times, attach and detach the pump 10 times, and carry the compressed bag around by its edges. Score each sample on a 1–5 scale across all categories:
| Test Category | Weight | Your Score (1–5) | Weighted Score |
|---|---|---|---|
| Visual/tactile quality | 15% | ||
| Leak resistance | 25% | ||
| Compression ratio | 20% | ||
| Seal duration (7-day) | 25% | ||
| Odor & material feel | 15% | ||
| TOTAL | 100% | /5.0 |
Samples scoring below 3.5 should trigger a conversation with your supplier. Below 3.0, switch factories. This protocol gives you objective data for factory negotiations — specific defect rates and test results are far more persuasive than vague complaints. For comprehensive AQL-based inspection, refer to our complete importing guide.
External resources: ISO 11607 Packaging Standards | ASTM F2096 Leak Testing | Asia Quality Focus | V-Trust Inspection Services | QIMA Quality Control