Importing your first container of vacuum compression bags from China can feel overwhelming. But broken down into a 90-day plan, it’s entirely manageable — even for first-time importers. This week-by-week roadmap will take you from zero to a live product listing with inventory in stock and ready to sell.
Week 1–2: Supplier Research and Shortlisting
Goal: Build a shortlist of 5–8 qualified vacuum bag manufacturers.
- Day 1–3: Research suppliers on Alibaba, Made-in-China.com, and Global Sources. Search terms: “vacuum compression bag manufacturer,” “vacuum storage bag OEM,” “compression bag factory China.” Filter for Verified/Gold suppliers with 3+ years of operation.
- Day 4–7: Send a standardized RFQ (Request for Quotation) to 15–20 suppliers. Your RFQ should specify: bag sizes (e.g., 60×80cm, 80×100cm, 100×120cm), material (PA+PE 7-layer film, ≥85 microns), quantity (1,000–5,000 sets for first order), valve type (double one-way valve), packaging requirements, and target FOB price.
- Day 8–10: Narrow to 5–8 suppliers based on response speed, professionalism of communication, and price competitiveness. Eliminate anyone who can’t answer technical questions about film thickness, valve design, or seal integrity.
- Day 11–14: Request company profiles, factory videos (video call walkthroughs), and certifications (ISO 9001, BSCI, SGS test reports). Verify they are actual manufacturers, not trading companies.
For detailed sourcing strategy, see our direct factory sourcing guide.
Week 3–4: Sampling and Quality Evaluation
Goal: Order samples, test them rigorously, and select your manufacturing partner.
- Day 15–17: Order samples from your top 3–4 suppliers. Expect to pay $50–$150 including express shipping (DHL/FedEx). Pro tip: offer to pay for samples — serious buyers pay, tire-kickers don’t.
- Day 18–21 (while samples ship): Research your target market’s competitive landscape. Analyze top 20 Amazon listings in “vacuum storage bags.” Note: price points, review counts, common complaints (read 1-star and 2-star reviews — these are your product improvement roadmap), packaging styles, and photo quality.
- Day 22–28: Samples arrive. Test EVERYTHING:
- Vacuum seal: use the pump, wait 24 hours, check for air leakage
- Film thickness: measure with a micrometer at 5 points per bag
- Seam strength: pull seams apart manually — they should not separate
- Valve function: inflate and deflate 10 times
- Zipper seal: open and close 20 times, test for smooth operation
- Smell test: off-gassing indicates poor-quality film
- Print quality: rub printed areas with a damp cloth — ink shouldn’t transfer
Select your supplier. Base the decision on sample quality (50%), communication (20%), price (20%), and factory professionalism (10%).
For a complete inspection checklist, see our quality control inspection checklist.
Week 5–6: Negotiation and Order Placement
Goal: Finalize terms, place your first purchase order, and arrange payment.
- Day 29–32: Negotiate final pricing. Key negotiation points:
- Volume discount tiers (e.g., $1.50/unit at 1,000, $1.30 at 3,000, $1.15 at 5,000)
- Payment terms: Start with 30% deposit / 70% before shipment (T/T). Aim for 30/70 against B/L copy for second order.
- Lead time: Standard is 15–25 days. Get it in writing with penalty clause for delays beyond 5 days.
- Free accessories: Ask for extra valves, replacement pumps, or free samples of other products thrown in.
- Day 33–35: Send your PI (Proforma Invoice) for confirmation. Review every detail: product specs, quantities, unit prices, total, payment terms, delivery date, Incoterms (FOB Qingdao recommended for first-timers).
- Day 36–42: Wire deposit payment. Factory begins production. Request production photos at 30%, 60%, and 100% completion.
For negotiation tactics, see our negotiation guide for Chinese factories.
Week 7–8: Quality Inspection and Shipping Arrangement
Goal: Verify product quality before shipment and book freight.
- Day 43–49: Book a third-party quality inspection (if budget allows — $250–$350 via QIMA, AsiaInspection, or similar). At minimum, request a video call inspection where the factory walks through your finished goods, showing random samples being tested. Use AQL 2.5 sampling standard.
- Day 50–52: Arrange shipping. Options:
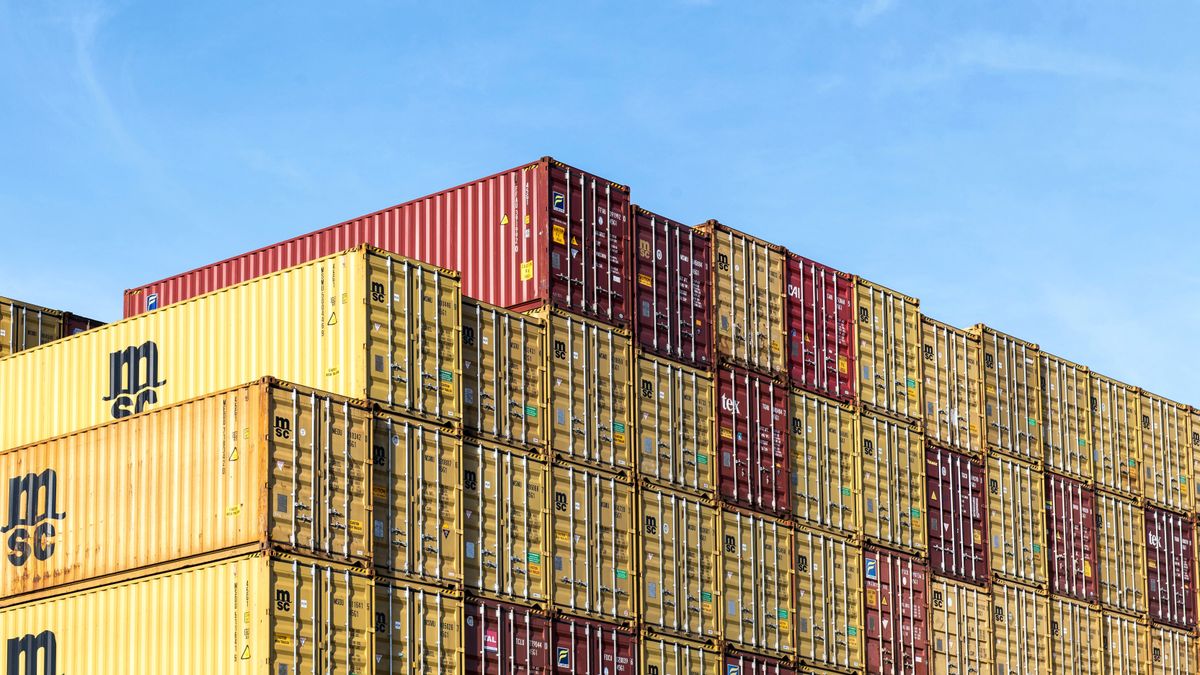
- Sea freight (recommended for 1+ pallets): 25–35 days to US West Coast, $2,500–$4,500 for a 20ft container (partial). FCL for 10+ pallets, LCL for smaller loads.
- Air freight (urgent/small): 5–10 days, $4–$7/kg. Only viable for very small, high-urgency shipments.
- Rail freight (to Europe): 18–22 days, 30–40% cheaper than air. Good middle ground.
- Day 53–56: Work with a freight forwarder (recommend: Flexport, Freightos, or a local forwarder). They’ll handle: booking, customs documentation, insurance, and destination delivery.
Week 9–10: Customs Clearance and Amazon Prep
Goal: Clear customs and prepare your Amazon listing.
- Day 57–63: While goods are in transit:
- Complete your Amazon listing: title (200 chars, include main keywords), bullet points (5, each highlighting a key benefit), description (A+ Content if brand-registered), backend search terms.
- Upload product photos and videos.
- Create your shipping plan in Amazon Seller Central. Generate FBA labels.
- Set up PPC campaigns (auto campaign, $20/day initial budget).
- Day 64–70: Goods arrive at destination port. Your customs broker (arranged by forwarder) clears them. Duties: vacuum bags are typically classified under HTS 3923.29.0000 (US) — expect 3–6.5% duty rate. Provide: commercial invoice, packing list, bill of lading, and (if required) ISF filing (US importers).
For Amazon-specific strategies, see our Amazon FBA seller’s guide for vacuum bags.
Week 11–12: Receiving and Launch
Goal: Receive inventory, ship to Amazon, and launch.
- Day 71–77: Goods delivered to your location (or prep center). Inspect upon arrival — spot-check 5–10% of units for transit damage. Apply FBA labels (if not done at factory). Ship to Amazon fulfillment centers per your shipping plan.
- Day 78–84: Inventory arrives at Amazon (3–7 days for FC receiving). While waiting:
- Enable Amazon Vine program (send 30 units for early reviews).
- Finalize PPC campaigns. Research competitor keywords with Helium 10 or Jungle Scout.
- Post on social media: Instagram, TikTok, Facebook — even a small following helps initial velocity.
- Reach out to personal network for initial sales momentum.
- Day 85–90: LISTING GOES LIVE. Monitor PPC performance daily for first 2 weeks. Adjust bids, add negative keywords, optimize based on data. First organic sale is the milestone — everything before that is momentum-building.
Budget Summary for First Container
| Expense | Estimated Cost |
|---|---|
| 2,000 vacuum bag sets (FOB) | $2,400–$3,600 |
| Samples (3 suppliers) | $150–$450 |
| Third-party inspection | $250–$350 |
| Sea freight (LCL, 3–5 pallets) | $800–$1,500 |
| Customs duties (5% avg) | $120–$180 |
| Customs broker fee | $150–$300 |
| Amazon FBA inbound shipping | $200–$400 |
| Amazon PPC (first month) | $600–$1,000 |
| TOTAL ESTIMATED | $4,670–$7,780 |
Conclusion
Importing your first container of vacuum bags doesn’t require a massive budget or years of experience — it requires a plan and the discipline to follow it. The 90-day timeline above is aggressive but achievable for focused entrepreneurs. The most common mistake? Rushing into an order before properly vetting suppliers. Spend the time on Weeks 1–4 — the sampling and evaluation phase — and the rest of the timeline becomes much smoother.
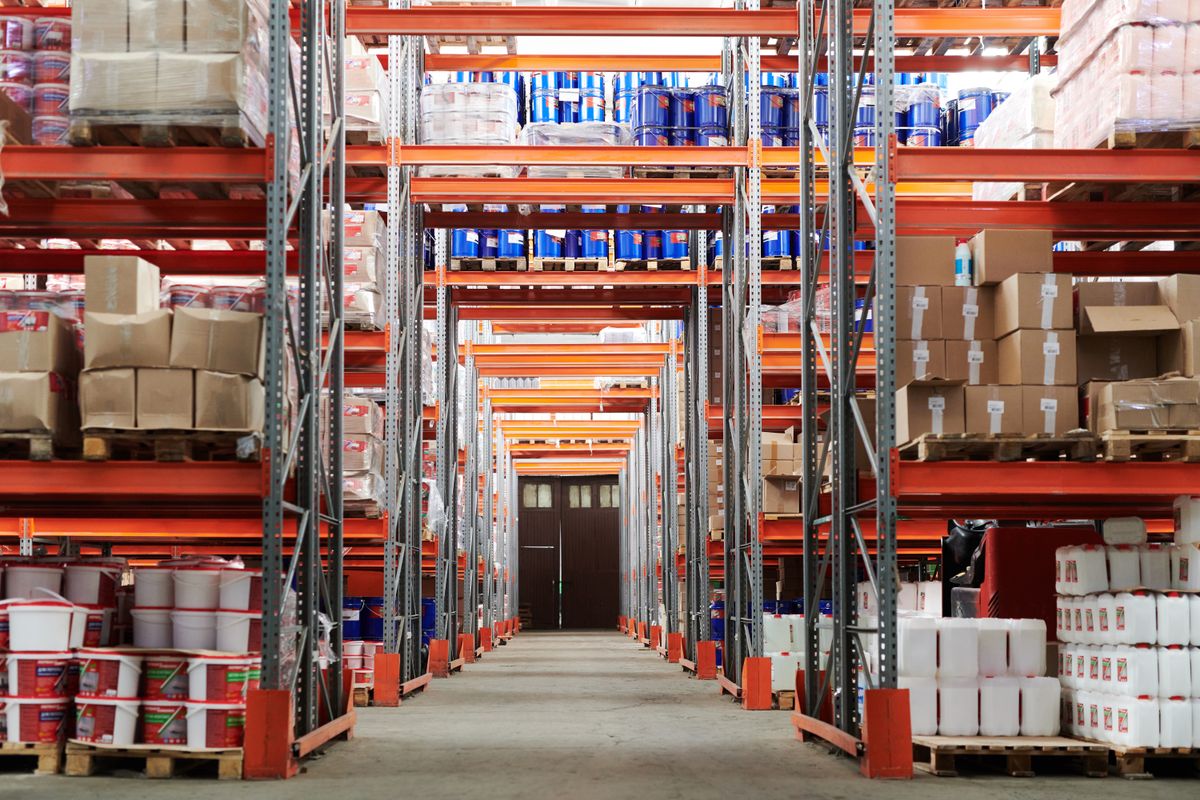
For more on warehouse and inventory management after your goods arrive, see our warehouse inventory management guide.
Ready to start your 90-day import journey? Contact Qingdao Sanyuan for vacuum bag samples, OEM quotes, and factory-direct pricing with MOQs starting at 1,000 units.